7 Steps to Achieve the Perfect Pedalboard Setup for Your Guitar
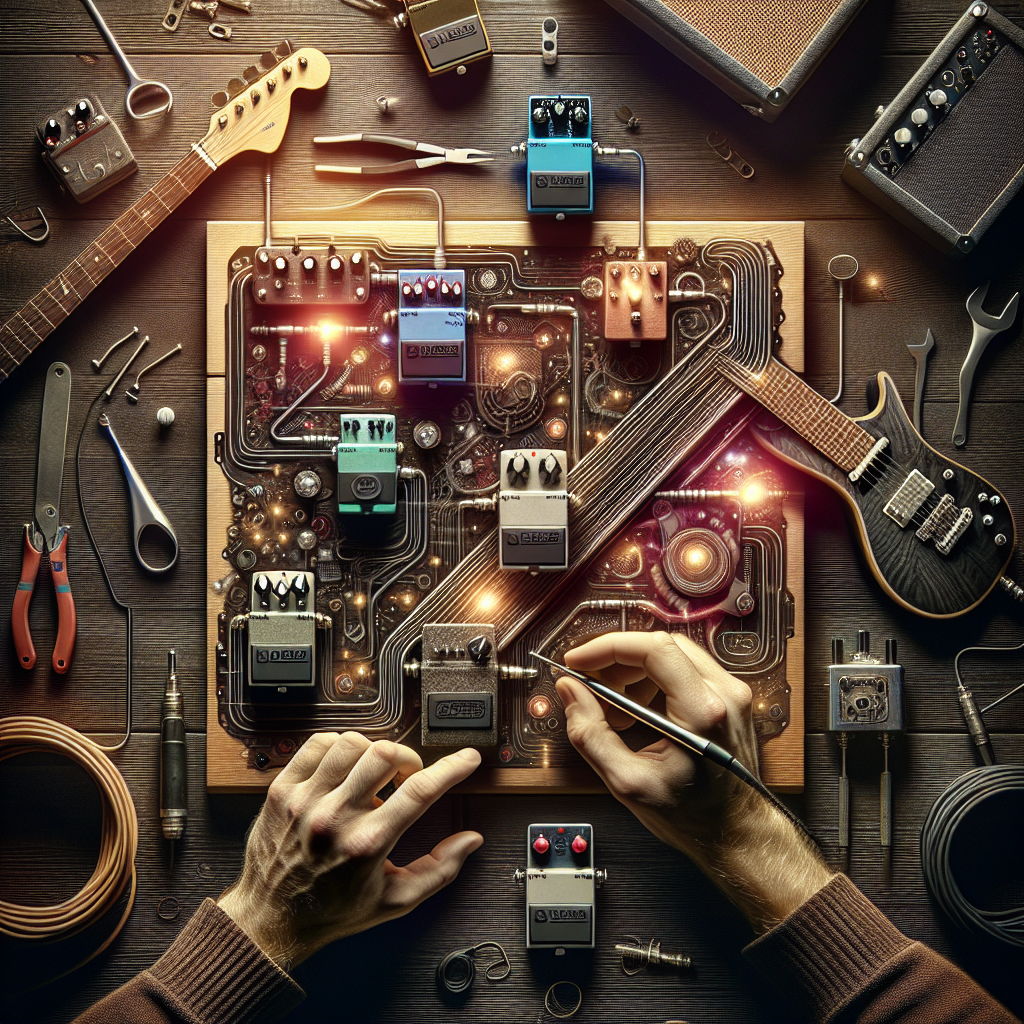
Every guitarist dreams of having the perfect pedalboard setup. This magical combination of stompboxes, switches, and wiring tucks neatly underfoot to transform your guitar’s sound into an audio masterpiece. Far from being a simple task, a well-organized pedalboard requires careful planning, thoughtful arrangement, and technical finesse. In this guide, we’ll explore seven essential steps to building your ideal pedalboard setup, helping you unlock new soundscapes and enhance your live performances.
1. Defining Your Pedalboard Goals
Before diving into the myriad of pedals available on the market, it’s crucial to define what you want to achieve with your pedalboard. Are you striving for a specific genre’s sound, such as blues or metal? Do you need versatility for a broad range of styles? Identifying your primary objectives will guide you in selecting the right pedals. Consider making a wishlist of must-have effects and prioritize them to meet your musical aspirations.
2. Choosing the Right Pedalboard
Once you have a clear understanding of the pedals you might need, it’s time to choose a pedalboard. Pedalboards come in various sizes and shapes, and selecting the right one depends on your current and potential pedal collection. Look for boards that offer strong durability, enough space for expansion, and cable management options. Don’t forget to consider portability. Your pedalboard should be easy to transport to gigs or rehearsals without inconvenience.
3. Arranging Your Pedals
Placement is vital for optimizing the pedal’s performance and ensuring ease of use. Follow these general guidelines for stacking your pedals: tuners and buffers come first, followed by drive and distortion pedals, then modulation effects like chorus or phaser, with time-based effects such as delay and reverb bringing up the rear. Of course, these are not hard rules and experimentation is encouraged to find your personal sweet spot.
4. Powering Your Pedals
There are multiple methods to power your pedalboard, such as using individual power adapters for each pedal or a multi-output power supply designed for the whole board. A power supply should be chosen based on reliability, noise reduction, and the variety of output options it offers. Pay attention to the voltage and current each pedal requires to avoid performance issues.
5. Cable Management
Well-organized cables not only make your pedalboard look neat but also reduce the risk of damage and improve signal flow. Use high-quality patch cables for connections between pedals, and secure them with ties or clips to keep everything tidy and accessible. Color-coded or labeled cables can help you quickly identify connections, particularly useful during setup and breakdown at live events.
6. Testing and Tweaking
With your pedals in place and everything powered, it’s time to test your setup. Plug in your guitar, adjust the settings on each pedal, and listen carefully. You may need to tweak settings and rearrange pedals to avoid unwanted noise or feedback. Experiment with pedal order to achieve different tonal qualities; sometimes a subtle change makes a world of difference.
FAQs about Pedalboard Setup
- What size pedalboard should I get?
Choose a pedalboard size based on how many pedals you currently have and plan for future additions. A little extra space allows for growth. - How do I know which order to arrange my pedals?
Generally, the sequence goes tuner -> compressor -> overdrive/distortion -> modulation -> delay -> reverb. However, trying different orders according to your preference is encouraged. - What is true bypass, and is it important?
True bypass means that when a pedal is off, it does not affect your guitar signal’s purity. This is important if you want the clearest signal going through your effects chain. - Can I use any power supply for my pedals?
Not every power supply will suffice. Ensure it meets the needs of your pedals in terms of voltage and amperage to avoid problems. - Is cable quality significant?
Yes, using high-quality cables reduces the loss of signal quality and prevents noise, which is crucial for maintaining your sound. - How can I avoid noise and interference?
Use a good power supply, keep cables short, avoid crossing power and audio cables, and ensure all connections are secure.
Conclusion
Building your pedalboard setup can seem daunting, but with these thoughtful steps, you’ll be on your way to achieving a highly satisfying result. A carefully curated and organized pedalboard not only gives new life to your performance but can also inspire new levels of creativity. So, take the time to plan, assemble, and refine your setup to meet your musical needs and prepare for both rehearsals and the stage. For an even deeper dive into pedalboard setup, visit Sweetwater’s detailed guide on creating your ideal board.