7 Expert Tips to Route and Solder a Custom Pedalboard: A Step-by-Step Guide
For musicians, especially guitarists, crafting sound is not just about playing notes, but about how those notes resonate. A custom pedalboard is crucial in achieving that perfect sound, allowing you to manage your effects pedals with ease and precision. However, setting up a pedalboard is more than just arranging gadgets on a platform. It involves a meticulous process of routing and soldering to ensure optimal performance and an aesthetically pleasing setup. This guide provides a step-by-step approach to help you create a pedalboard tailored to your musical needs.
1. Planning Your Pedal Layout
Before diving into the technical aspects like routing and soldering, planning the layout of your pedals is essential. Consider the order of effects, as this can drastically influence your sound. Typically, the signal chain starts with tuners and dynamic effects, follows with overdrives and distortions, then modulation effects, and ends with time-based effects like delays and reverb.
Draw a sketch or use software to map out the positioning. This will give you a visual roadmap to follow and ensure you have enough space to accommodate all pedals and cables efficiently.
2. Choosing the Right Pedalboard and Power Supply
Selecting an appropriate pedalboard is crucial for a stable setup. Ensure it’s the right size for your pedal collection, with some room for future additions. Consider the weight and portability, especially if you plan on taking your pedalboard on the road.
Equally important is choosing a power supply that can handle the requirements of all your pedals. Opt for an isolated power supply to avoid ground loops and noise issues, ensuring each pedal runs smoothly without interference.
3. Routing the Cables
Neatly routing your cables not only looks professional but also helps minimize noise interference and prevents signal loss. Use cable ties and Velcro fasteners to secure cables and keep your setup tidy. Keep the cables as short as possible to reduce the chance of signal degradation.
Remember to separate power cables from audio cables to further reduce interference. This involves running power cables under the pedalboard and keeping audio cables on top, avoiding tangling and ensuring cleanliness.
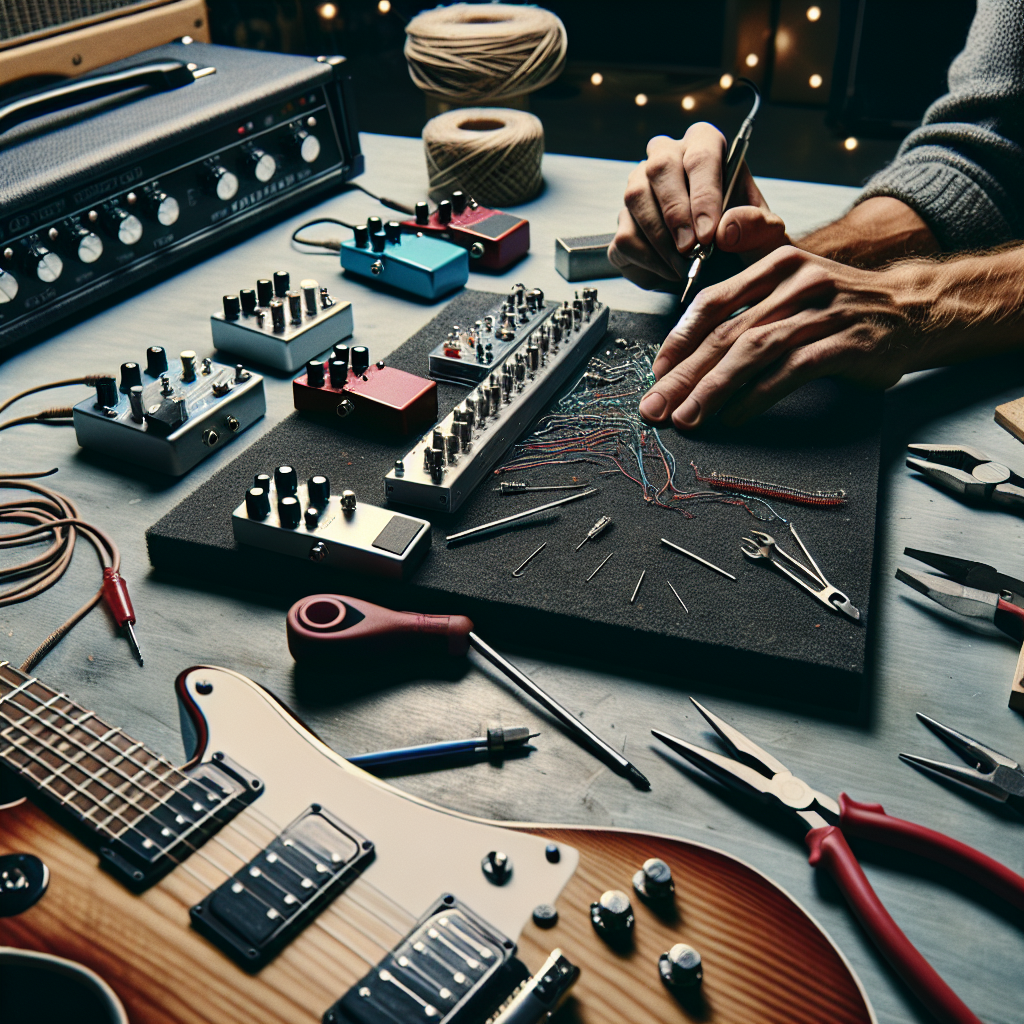
4. Soldering Your Own Cables
Soldering custom cables can be intimidating for beginners, but it offers superior quality and fit. You’ll need some basic equipment: a soldering iron, solder, a wire stripper, and quality connectors.
Cut the cable to the necessary length and strip the ends. Attach one stripped end to a connector sleeve while the bare wire is wound around the tip. Heat the connections with your soldering iron before applying solder. Repeat this process for the other end, ensuring all connections are secure.
5. Testing the Setup
Once everything is connected, it’s critical to test your setup. Plug your guitar in and go through each pedal to check for unwanted noise or power issues. If there’s interference or sound quality problems, double-check your routing and soldering, making sure all connections are secure and in place.
It’s worth noting that some pedals may have buffers or other electronic components that can affect signal clarity. Familiarize yourself with each pedal’s specifications to understand how it fits into the chain.
FAQs
- What order should pedals be in the chain?
While there’s no strict rule, a common order is: tuner, dynamics (compressors), overdrives/distortions, modulations (like chorus, flanger), delays, and reverb. - Why is it important to separate power and audio cables?
This separation prevents electromagnetic interference, which can cause buzzing and hissing sounds. - Is soldering necessary for a custom pedalboard?
Soldering is not mandatory, but it ensures better connectivity and reduces the risk of cable failure over time. - How do I prevent noise in my pedalboard setup?
Using quality isolated power supplies, proper cable routing, and ensuring all connections are secure helps minimize noise. - Can I add new pedals without redoing the entire pedalboard?
Absolutely! Just plan for a bit of extra space when designing your board initially to accommodate future pedals. - What if my pedals have different power requirements?
Invest in a power supply that offers variable voltage outputs to cater to different pedal power specifications.
Conclusion
Building a custom pedalboard is both an art and a science. By carefully planning your layout, selecting suitable power supplies, routing your cables neatly, and soldering your connectors, you can create a personalized setup that enhances your sound. Whether you’re a gigging musician or an enthusiast experimenting at home, building your pedalboard can significantly elevate your musical expression. For guitarists aiming for a refined and reliable live performance, these steps are indispensable.
Happy tuning, and may your music resonate with clarity and power!
For more insights into guitar setups and accessories, explore additional resources at Music Radar.