7 Steps to Build a DIY Pedalboard Power Supply – Your Ultimate Guide
Guitarists know the importance of a reliable pedalboard power supply. It ensures that all your pedals run smoothly and consistently, without unwanted noise or power issues. But what if purchasing a commercial power supply is out of reach? Don’t worry. Building a DIY pedalboard power supply can be a rewarding and cost-effective alternative! This guide will walk you through the steps, helping you create a power supply tailored to your pedalboard’s needs.
Step 1: Understanding Your Power Requirements
Before diving into building your power supply, you should first understand the power requirements of your pedals. Each pedal has specific voltage and current needs that must be met to operate correctly. Common voltages for guitar pedals are 9V, 12V, and 18V, and the current rating is usually given in milliamps (mA).
Start by checking each pedal’s specifications and tallying up the total power requirements. This will guide you in choosing the right components for your power supply, ensuring that it efficiently powers all your devices without overload.
Step 2: Gathering Materials and Tools
Once you know your power requirements, it’s time to gather your materials and tools. You will need:
- A power transformer that matches your voltage needs.
- Rectifier diodes to convert AC to DC.
- Filter capacitors to smooth out the DC signal.
- Voltage regulators to maintain a steady voltage output.
- Circuit board or prototyping board.
- Soldering iron and solder.
- Heat shrink tubing and a case to encase your power supply.
Make sure you have all the necessary components, tools, and safety equipment like goggles and gloves.
Step 3: Designing the Circuit
Before assembling, sketch a diagram of your circuit. This should include connections for the transformer, diodes, capacitors, and voltage regulators. Websites like All About Circuits (https://www.allaboutcircuits.com/) offer helpful resources and community advice on circuit designs.
The basics of the circuit design include:
- The transformer reducing or increasing voltage to your required level.
- Diodes arranged in a bridge rectifier configuration to convert AC to DC.
- Capacitors filtering the output to reduce ripples and noise.
- Voltage regulators providing constant voltage output.
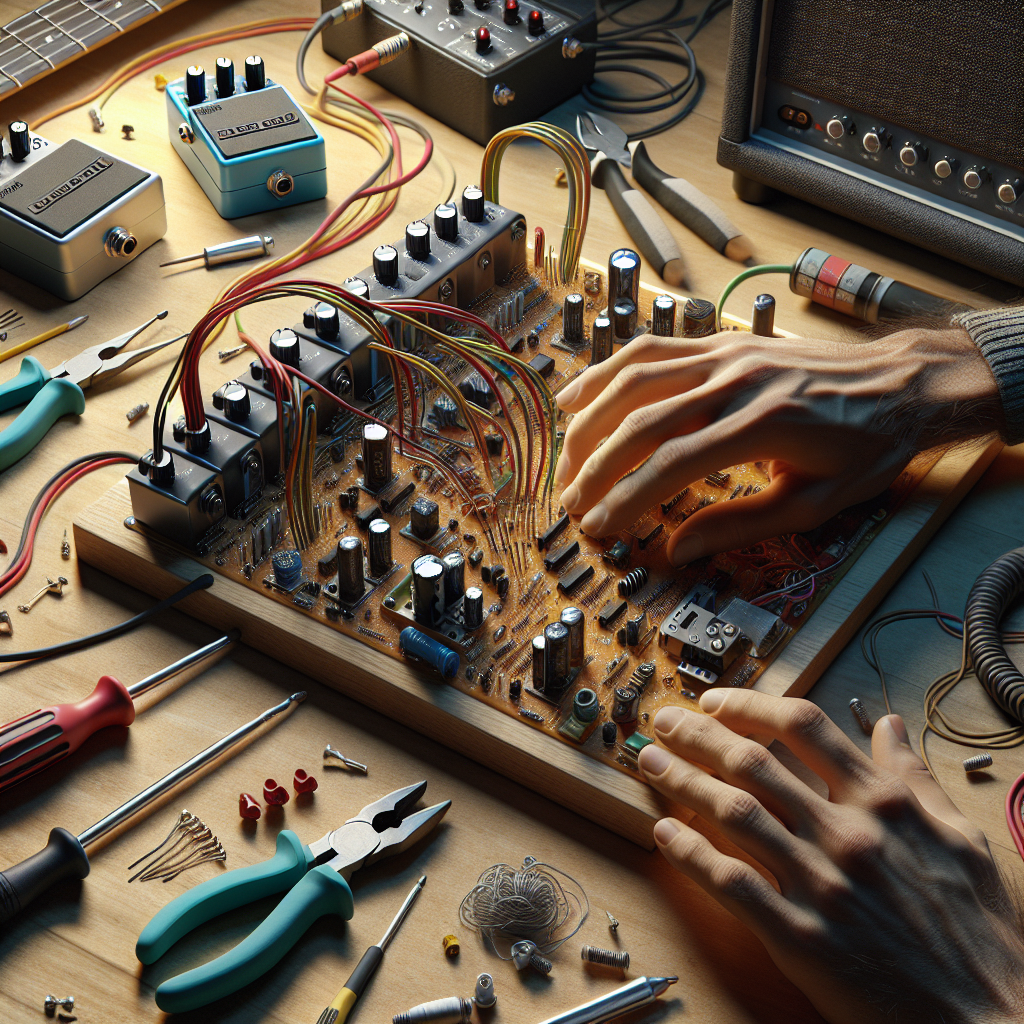
Step 4: Assembling the Power Supply
With your design ready, it’s time to start assembling:
- Begin by mounting your components on the circuit board.
- Solder connections according to your design. Be sure to double-check polarities and connections as you go.
- Use heat shrink tubing on exposed wires or connections to prevent shorts.
- Verify component positions and connections before moving forward.
Step 5: Testing and Troubleshooting
Before mounting the power supply to your pedalboard, test the circuit. Use a multimeter to check voltages at different points to ensure it matches your design. Connect a load equivalent to your pedals to see how the supply performs under real conditions.
If any issues arise, revisit your circuit diagram to ensure all connections are correct. Common problems include loose connections, misaligned polarity, or incorrect component values.
FAQs
Q1: Can I use a single power supply for multiple voltages?
A1: Yes, you can use voltage regulators to achieve multiple output voltages from a single power supply. Ensure each regulator supports the current requirements of its assigned pedals.
Q2: Why do I need a transformer?
A2: A transformer adjusts the main voltage level to one that matches your pedal power requirements, crucial for converting high household voltages to safe pedal levels.
Q3: What causes noise in a power supply?
A3: Noise can come from improperly filtered DC output, poor grounding, or electromagnetic interference. Using capacitors and proper shielding can mitigate these issues.
Q4: How do I ensure safety when building a power supply?
A4: Work in a dry environment, use safety gear, and ensure components are properly rated for the voltages and currents they will handle.
Q5: Can a DIY power supply damage my pedals?
A5: If constructed correctly, it shouldn’t. However, incorrect voltages or poorly assembled circuits can harm pedals, so double-check your work.
Q6: Where can I learn more about electronics?
A6: Online platforms like All About Circuits or community forums and YouTube offer valuable tutorials and advice on electronics and circuit building.
Conclusion
Building a DIY pedalboard power supply is a fulfilling project that can save money and provide a deeper understanding of your gear. By tailoring the power supply to your specific setup, you ensure the best performance of your pedals. Always prioritize safety, accuracy, and testing to enjoy your homemade power solution without hiccups. Gear up, dive into the world of electronics, and take your music setup to the next level!