10 Easy Steps to Fix a Broken Guitar Strap Button
Whether you’re a beginner or a seasoned guitarist, dealing with a broken guitar strap button can be a nuisance. It can disrupt your gig, practice session, or simply your overall playing experience. But fear not! Fixing a broken guitar strap button is a simple task that you can tackle on your own using standard tools found at home. In this article, we’ll guide you through a detailed step-by-step process to restore your guitar strap button to its full glory. Follow along, and you’ll be back to strumming in no time.
1. Identify the Problem
The first step in fixing a broken guitar strap button is determining the exact issue. Is the screw loose, the button cracked, or is it completely detached from your guitar? If it’s loose, you may just need to tighten the screw. If the button is cracked, you may have to replace it entirely. Assessing the problem correctly will guide you on which materials and tools you will need for the repair.
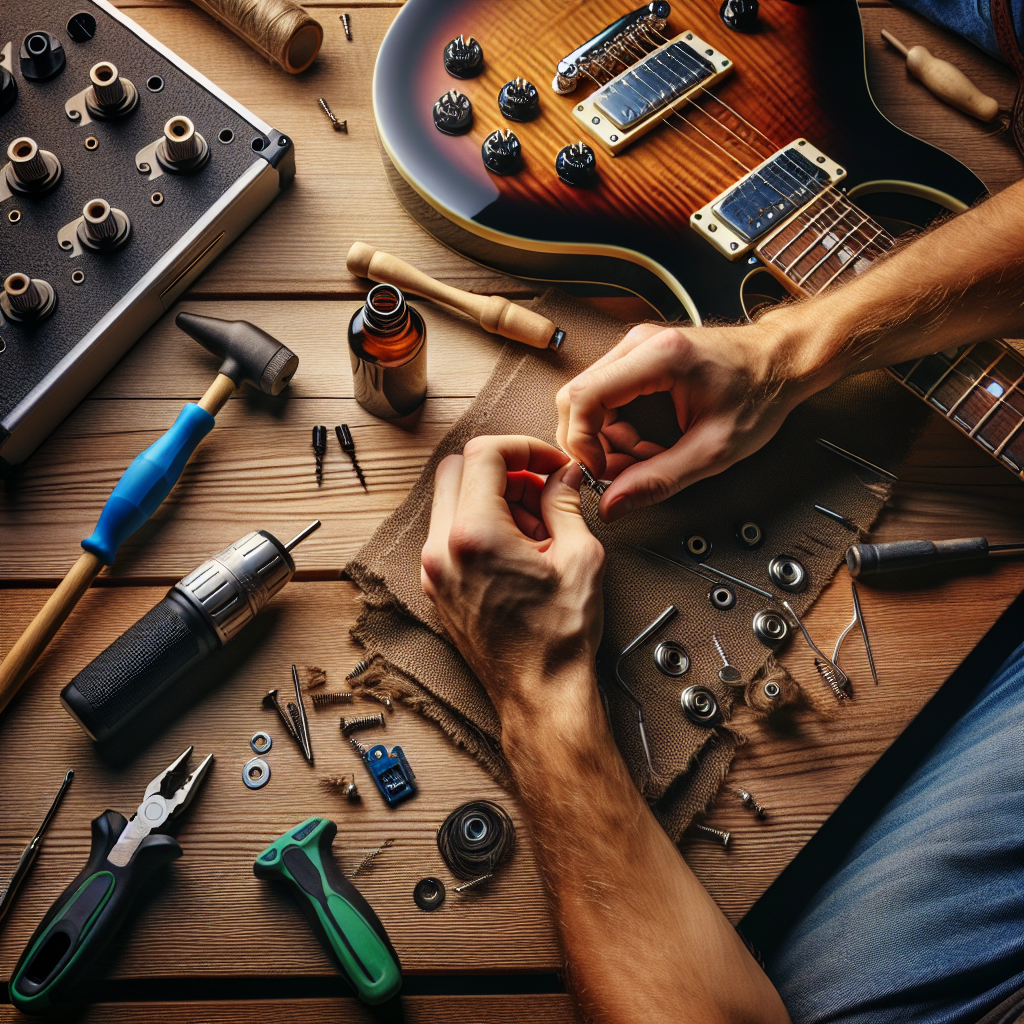
2. Gather the Required Tools and Materials
To fix a broken guitar strap button, you’ll usually need a screwdriver (often a Phillips head), wood glue, toothpicks (for filling in stripped holes), and a new strap button and screw if a replacement is necessary. Having all these handy before you start will make the process smooth and efficient.
3. Remove the Old Strap Button
If the strap button is still partially attached to the guitar, you’ll need to remove it. Use the screwdriver to unscrew the button carefully. If the button is damaged, make sure to dispose of it safely. In the case that the screw hole is stripped, proceed to step 4 for minor repair, and step 5 for a full repair.
4. Repair a Stripped Screw Hole (Minor)
If the screw hole is stripped, you can fill it with toothpicks coated in wood glue. Simply insert enough toothpicks to fill the hole snugly and allow it to dry completely. This will create a firm base for your screw when you reattach the new strap button.
5. Repair a Heavily Damaged Hole (Full Repair)
For a severely damaged screw hole, you may need to drill a new hole entirely. To do this, use a drill with a small bit to create a new hole a few millimeters away from the original. Be cautious not to drill too deep and compromise your guitar’s integrity. Once done, you can fill the original hole with wood filler or glue-coated toothpicks for aesthetic purposes.
6. Attach the New Strap Button
With your screw hole prepared, it’s time to attach the new strap button. Position the button over the hole and use your screwdriver to tighten the screw securely. Ensure the strap button is firmly in place but avoid over-tightening, as this can strip the new hole.
7. Verify the Stability
Test the new strap button by gently pulling on it. It should remain firmly in place without any wiggling or further damage. If it feels secure, you’ve successfully completed the repair!
8. Put Your Strap Back On
Reattach your guitar strap to the newly fixed button. Adjust it to your preferred length and make sure it’s fastened securely. Test the setup by wearing the guitar as you normally would and ensure it’s comfortable and stable.
9. Consider Regular Check-Ups
After completing your repair, it’s a good practice to regularly check your guitar strap buttons for signs of wear or damage. Regular maintenance will prevent unexpected failures in the future.
10. Learn from the Experience
Each repair you undertake enhances your understanding of your instrument. By fixing a broken guitar strap button, you’ve not only improved your DIY skills but also gained insight into routine guitar maintenance that can prolong the life of your instrument.
FAQs
1. Can I use super glue instead of wood glue?
Wood glue is most recommended because it allows for a secure grip and is designed to adhere effectively to wood. Using super glue is not ideal as it can damage the wood and doesn’t provide the same flexible adhesion as wood glue.
2. Do I need special strap buttons for my guitar?
Most strap buttons are standard and will fit any guitar, but it’s advisable to check the compatibility with your specific guitar model. Some guitars might have unique finishes or shapes that require specialized strap buttons.
3. Is it difficult to drill a new hole for the button?
Drilling a new hole is a straightforward task, but it requires caution. Ensure you use a drill bit that is slightly smaller than the screw, and don’t drill too deep. Practicing on scrap wood before drilling into your guitar can help improve your confidence and technique.
4. What should I do if the new strap button is still loose?
If the newly installed strap button remains loose, double-check that you have tightened the screw adequately. If the problem persists, reassess the wood filler or toothpicks in the hole for any need to supplement that fills the hole more completely.
5. What if I don’t feel comfortable performing the repair myself?
If you’re uncertain about fixing the strap button yourself, it’s perfectly fine to reach out to a professional luthier. They have the skills and tools necessary to ensure a flawless repair.
6. Can I prevent strap buttons from breaking in the future?
Regularly inspect your guitar strap buttons for signs of wear, avoid overtightening, and consider using locking strap buttons for added security. These measures can help prevent future breakages.
Conclusion
Fixing a broken guitar strap button is a manageable DIY task that ensures the safety and playability of your guitar. By identifying the problem, gathering the necessary tools, making the repair, and regularly maintaining your instrument, you can prevent future inconveniences. Remember, the key to maintaining your guitar’s longevity is regular maintenance and care. Now that you know how to fix a broken strap button, you’re just one step closer to becoming a self-sufficient guitar guru.
For more in-depth guitar maintenance tips and tutorials, check out Guitar World, a leading resource for guitar enthusiasts everywhere.