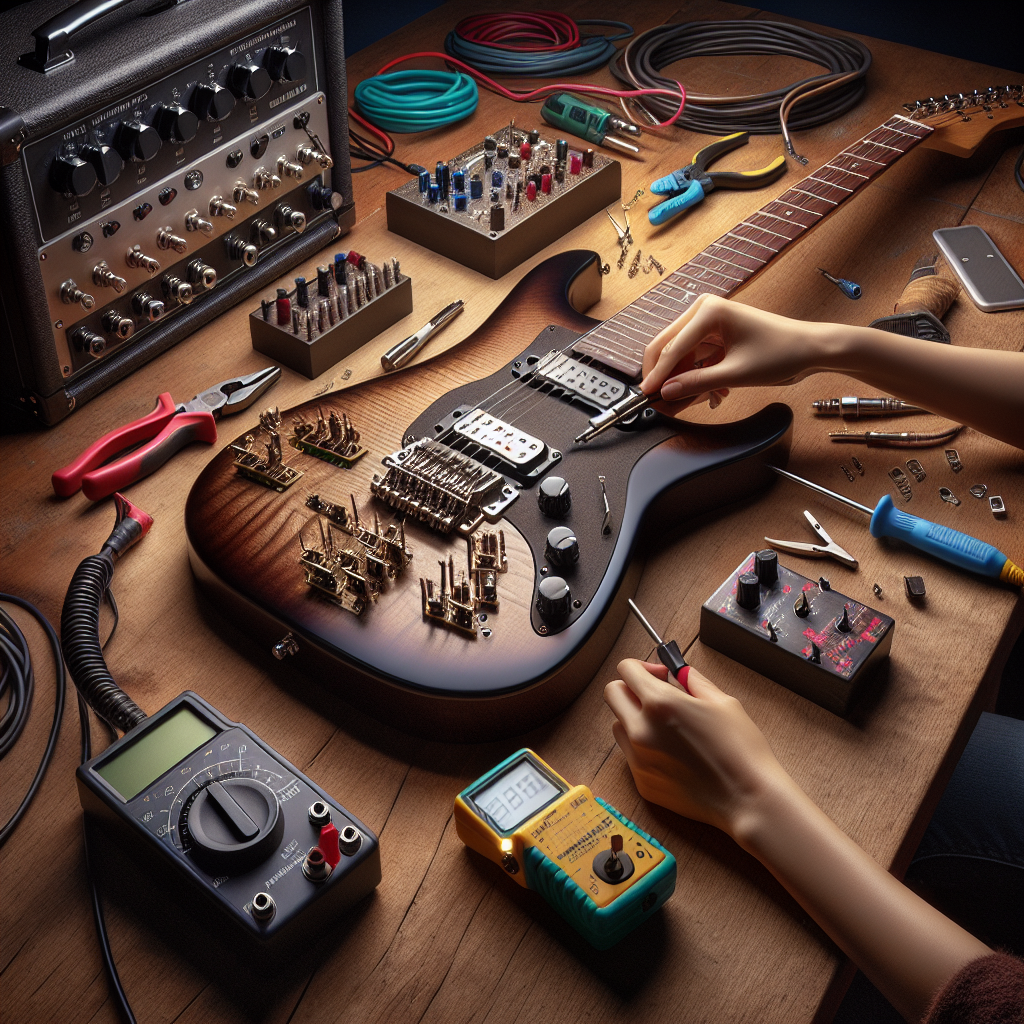
Adding a kill switch to your guitar can dramatically enhance your playing style, offering you on-demand sound control and creative cutting effects. A kill switch can elevate your guitar-playing experience, making your performance more interactive and exciting whether you’re aiming for staccato sound bursts or want to emulate the styles of guitarists like Tom Morello and Buckethead. In this article, we’ll guide you through the step-by-step process of installing a kill switch on your guitar.
Top 7 Steps to Install a Kill Switch On Your Guitar
1. Understanding the Need for a Kill Switch
A kill switch allows you to mute your guitar signal momentarily without adjusting the volume knob. This is particularly useful for creating rhythmic effects and sudden pauses in sound while playing. Not only does it add a dynamic element to your performance, but it also helps you express musical creativity in innovative ways.
2. Gathering the Necessary Tools and Materials
Before beginning the installation process, gather the following items: a kill switch, soldering iron, solder, wire, screwdriver, and a drill. Having these tools and materials ready will make the process smoother and more efficient. It’s also important to ensure you’re working in a space with good lighting and ventilation, especially if you’re using a soldering iron.
3. Choosing the Right Kill Switch
When it comes to selecting a kill switch, you’ll find numerous options, including buttons and toggles, each with its unique features. Choose a switch that’s reliable and suits your playing needs, in terms of both functionality and aesthetics. Consider the size of the switch and ensure it fits comfortably on your guitar body without interference.
4. Preparing Your Guitar for Installation
Start by loosening the strings and removing the backplate, if your guitar has one, to access the internal electronics. Ensure the guitar is powered down and disconnected from any amplifiers or electrical sources. Carefully examine the guitar cavity to determine where the kill switch will fit best without hindering other components.
5. Drilling the Hole for the Kill Switch
Once you’ve decided on the location, use a drill to create a hole for the kill switch. The size of the drill bit should correspond to the size of your switch thread. It’s crucial to take your time and drill carefully to avoid damaging your guitar’s finish. Once you have drilled the hole, smoothen any rough edges to ensure a snug fit.
6. Soldering the Kill Switch into the Circuit
Integrate the kill switch into the guitar’s circuit by connecting it to the pickups and output jack. Use the soldering iron to attach wires from the kill switch to the appropriate points in the guitar’s circuitry. It’s essential to create clean solder joints to prevent any connectivity issues. Ensure all components are in place and test the switch to confirm it’s functioning correctly before final assembly.
7. Final Assembly and Testing
Reassemble the guitar by securing all cover plates and tightening the strings. Test the kill switch by plugging the guitar into an amplifier and strumming while engaging the switch. If everything is set up correctly, you should be able to create sudden stops in the sound as the circuit opens and closes with the switch. Make necessary adjustments if needed.
Frequently Asked Questions
What is a kill switch on a guitar?
A kill switch is a device installed on a guitar that instantly silences the sound output when engaged. It breaks the signal path, effectively muting the guitar and allowing for unique sound effects and musical articulations.
Do I need special skills to install a kill switch on my guitar?
While it’s not overly complicated, installing a kill switch requires basic understanding of guitar electronics, proficiency in using tools like a soldering iron and drill, and attention to detail to avoid damaging the guitar.
Can I install a kill switch on any type of guitar?
Yes, kill switches can be installed on most electric guitars. However, space constraints and guitar design might affect installation ease. It’s important to ensure there is enough room in the guitar’s cavity for the switch.
What types of kill switches are available?
Kill switches come in various forms, including push-button and toggle switches. Each type offers different tactile responses, so choose based on personal preference and the style of music you play.
What precautions should I take when installing a kill switch?
Ensure the guitar is not connected to any power source while installing. Work in a well-lit, ventilated area, and handle tools with care, especially the soldering iron and drill.
Can a kill switch damage my guitar?
When installed correctly, a kill switch should not harm your guitar. However, improper installation, such as poor soldering or accidentally drilling into critical components, can cause damage.
Adding a kill switch to your guitar opens up a world of creative possibilities, enhancing your sound and performance dynamics. Follow these steps carefully to ensure a smooth and successful installation process. For further information on guitar electronics, check out reliable resources like Premier Guitar for expert guidance and insights.
In conclusion, while the process of installing a kill switch requires some skill and patience, the results can significantly boost your musical creativity and expression. Dive into this exciting modification project and let your guitar playing reach new heights!