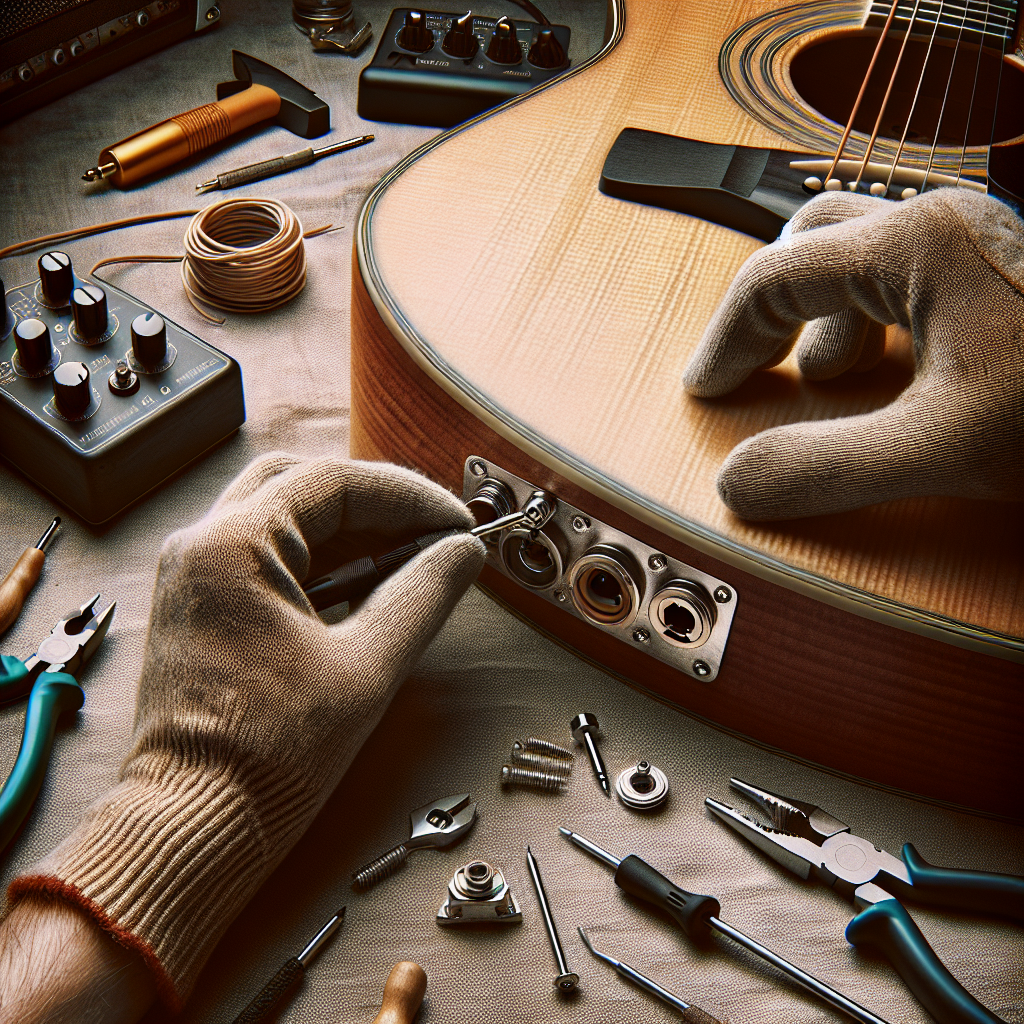
5 Essential Steps to Replace a Guitar Output Jack
Replacing a guitar output jack might seem daunting at first, but it’s a task any musician should feel empowered to tackle. The output jack is crucial to ensuring your guitar sings through amplifiers with clarity and precision. Whether your guitar has started buzzing or cutting out, knowing how to replace its output jack can keep your gear performing optimally. Read on to discover the easy steps you can take to give your guitar a quick and effective fix.
1. Gather Your Tools and Materials
Before diving into fixing your guitar’s output jack, ensure you have all the necessary tools and materials ready. You will need a screwdriver, soldering iron, solder, wire stripper, and the replacement jack. Having the right tools is vital for a smooth operation and will reduce frustration significantly.
Make sure you buy the correct type of replacement jack for your specific guitar model. You can consult your guitar’s manual or seek professional advice to ensure compatibility. A solid, compatible output jack will ensure your guitar performs optimally and lasts longer.
2. Remove the Jack Plate or Jack Cover
The first step in accessing the faulty output jack is removing the jack plate or cover. Use the screwdriver to carefully remove the screws holding the plate in place. Remember to keep the screws safe so they can be reused later. Once the plate is removed, you’ll have visual and physical access to the output jack.
If your guitar has a recessed jack (common in guitars like the Stratocaster), you might need to tilt or gently wiggle the cover to get it off. Take care not to scratch or damage your guitar’s body during this process.
3. Desolder the Wires
With the jack exposed, you’ll notice wires soldered to its terminals. Take note of which wires connect to which terminals because you’ll need to solder the new jack in the same configuration. If necessary, write down the wire placement or take a photo with your phone for reference.
Heat your soldering iron and carefully desolder the wires. Apply the soldering iron tip to the joint, and the solder will start to melt. Use the soldering iron’s tip to help lift the wire away from the terminal gently. If the wires are worn or frayed, use the wire stripper to trim back to clean, fresh wire.
4. Install the New Output Jack
Installing the new output jack is a reversal of the removal process. Begin by threading the jack into the guitar’s body or jack plate. Connect the wires to the correct terminals based on your notes or photos. Typically, the ‘hot’ wire should connect to the tip terminal, and the ground wire goes to the sleeve terminal.
Heat the soldering iron again and solder the wires onto the new jack. Ensure your connections are neat and secure — it helps to use fresh solder while maintaining a clean tip on the soldering iron. Double-check the connection to ensure it matches the original configuration, ensuring your guitar functions correctly once reassembled.
5. Test and Reassemble the Guitar
Before securing the jack plate or cover, it’s wise to test your guitar. Plug it into an amplifier and gently wiggle the jack to see if it stays secure and doesn’t cut out sound. You can play a few notes to check for any unusual noises or distortions.
Once you’re satisfied, place the jack plate back onto the guitar and secure it with screws. Ensure everything fits snugly, nothing is out of alignment, and all screws are fully tightened without over-tightening to avoid damaging the wood.
Frequently Asked Questions (FAQs)
- Can I replace a guitar output jack without soldering?
While some DIY kits may exist, for a secure, long-lasting replacement, soldering is the recommended method. It provides a solid electrical connection essential for optimal sound quality. - What type of output jack should I purchase?
Output jacks are generally standard across electric guitars, but double-check your guitar’s specifications. Brands like Switchcraft are commonly recommended for their durability. - How do I know if my output jack is faulty?
Common signs of a faulty output jack include crackling sounds, intermittent sound, or complete sound loss when the guitar is moved or the cable is touched. - Why does my guitar output jack keep getting loose?
Loose jacks are often due to frequent plugging and unplugging of the cable, straining the mounting nut inside the guitar’s body. Regular checks and re-tightening can help maintain stability. - How much does it cost to replace a guitar output jack?
If you do it yourself, the cost is usually between $5 to $15 for the part. Professional repair services may cost around $30 to $60 due to labor fees. - Can a faulty output jack damage my amplifier?
While unlikely, a severely defective jack might cause unwanted sounds or feedback loops, potentially straining your amp’s components. Replacing the jack promptly can prevent such issues.
Replacing a guitar output jack is a rewarding skill that enhances your understanding of your instrument. With these simple steps and a bit of patience, your guitar will not only regain its reliability but also offer clear, harmonious music for years to come. Keep playing, keep exploring, and remember — every musician’s toolkit should include a bit of repair knowledge!
For further guidance on guitar repairs, you might find resources from reputable music shops like Sweetwater useful and educational.