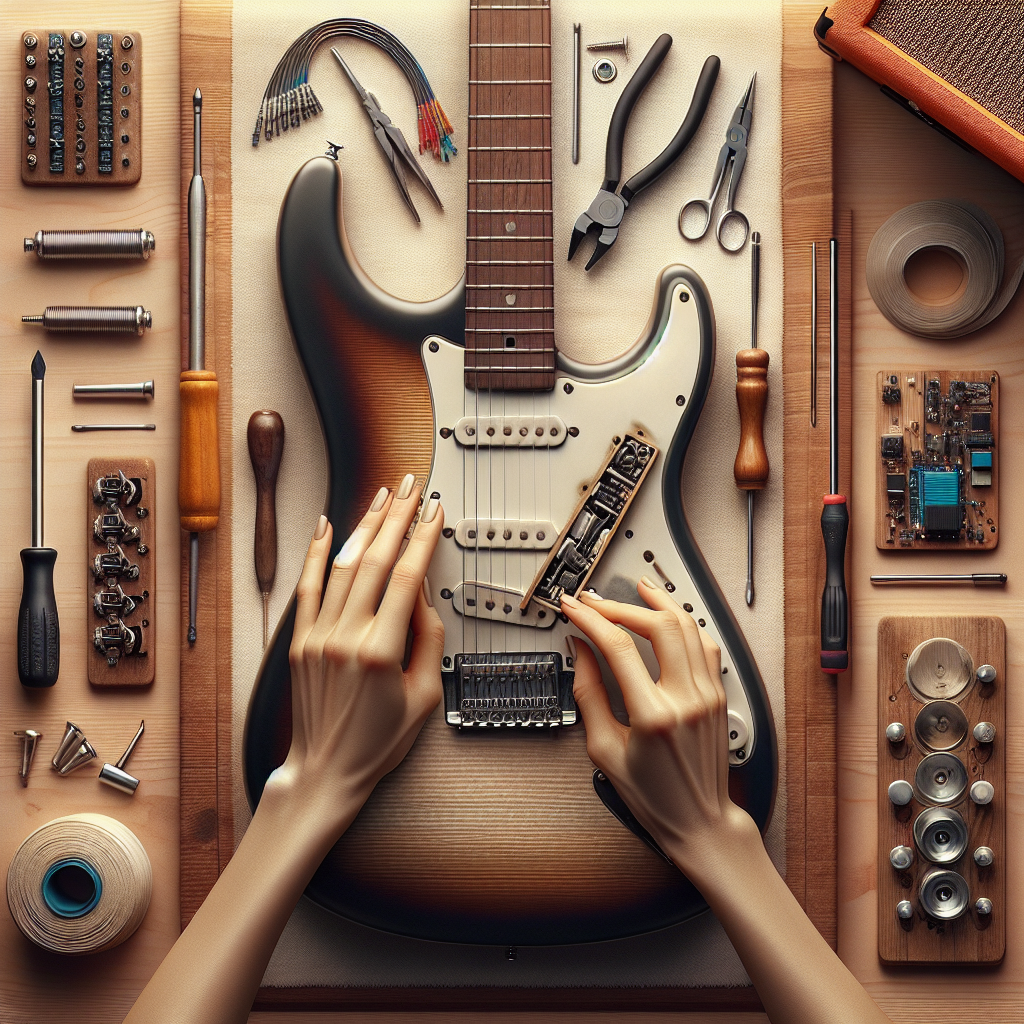
7 Effective Steps to Safely Remove Glued Guitar Parts
Whether you’re restoring a vintage guitar, upgrading components, or repairing accidental damage, knowing how to safely remove glued guitar parts is a valuable skill for any guitar enthusiast. Glue, a common adhesive used for assembling guitars, ensures durability and stability. However, removing glued parts without damaging the guitar requires careful techniques. Here, we unlock seven effective steps to accomplish this task.
1. Assess the Type of Glue Used
Understanding the type of glue used is crucial for effective removal. Most guitars are assembled using wood glue, epoxy, or hide glue. Each type reacts differently to removal techniques:
- Wood Glue: Common in general guitar assembly, it softens with heat and moisture.
- Epoxy: Known for its strong bond, it requires heat to break down.
- Hide Glue: Utilized in vintage guitars, it’s water-soluble and heat-reactive.
2. Gather the Right Tools
Before you start, ensure you have the right tools to safely remove the glued parts:
- Rubber mallet to gently tap parts apart without damage.
- Guitar pick or thin spatula to work into joints.
- Clamp to hold parts in place if needed.
- Heating tool like a hairdryer or heat gun.
3. Apply Heat Gently
Heat is effective for softening glue, making it easier to separate parts. Use a hairdryer or heat gun on a low setting to evenly warm the glued area. Keep it moving to avoid scorching the wood. Once you feel slight softening, the glue is ready to separate.
4. Use a Moisture Technique for Hide Glue
If dealing with hide glue, apply a damp cloth to the glued area and let it sit for a while. The moisture will seep in, loosening the glue. Ensure the cloth is not too wet to prevent damage to the wood.
5. Gentle Separation
With the glue softened, use a guitar pick or thin spatula to carefully pry apart the glued sections. Insert gently and slowly work your way around. Use a rubber mallet if necessary, lightly tapping to assist in separation. Avoid using excessive force, which can lead to damage.
6. Clean the Residual Glue
After separating the parts, clean off any remaining glue residue with a scraper. For stubborn glue, apply a vinegar solution or acetone on a cloth to dissolve it. Always test solvents on a small area to ensure it doesn’t damage the finish.
7. Inspect and Repair If Necessary
Inspect the guitar parts for any damages during the removal process. If there are minor damages, use fine sandpaper to smooth edges, ensuring better adhesion for future gluing or assembly.
FAQs
What is the best method to remove epoxy glue from a guitar?
Heat is the best method to remove epoxy glue. Apply moderate heat using a heat gun, and gently pry the parts apart once the glue softens. Be cautious not to overheat, as it might damage the wood.
Can I use a steam iron to remove glue from my guitar?
Yes, you can use a steam iron in combination with a damp cloth to apply moist heat, especially for hide glue, aiding in easier separation of glued parts.
Is it safe to use acetone on my guitar for glue removal?
While acetone can dissolve many glue types, it might also damage certain finishes. It’s best to test any solvent on a small hidden area first.
How can I soften glue without special tools?
A hairdryer can serve as an effective tool for softening glue. It provides the right amount of controlled heat needed for the task.
What if the glued parts still won’t separate?
If glued parts resist separation, applying heat and moisture several times may be necessary. If certain, professional help should be sought to prevent further damage.
Will removing glued parts reduce my guitar’s value?
If done correctly and without damage, it shouldn’t affect the guitar’s value. However, amateur work that alters the guitar structure could decrease its worth.
Learning how to safely remove glued guitar parts is a handy skill for anyone looking to maintain or modify a guitar. It requires patience and the right approach, ensuring your guitar remains in prime condition for years of music-making. If you need more information, Guitar World’s section on guitar maintenance offers insightful tips on this topic. Enjoy the journey of customization and repair!