10 Expert Tips on How to Solder Guitar Electronics Like a Pro
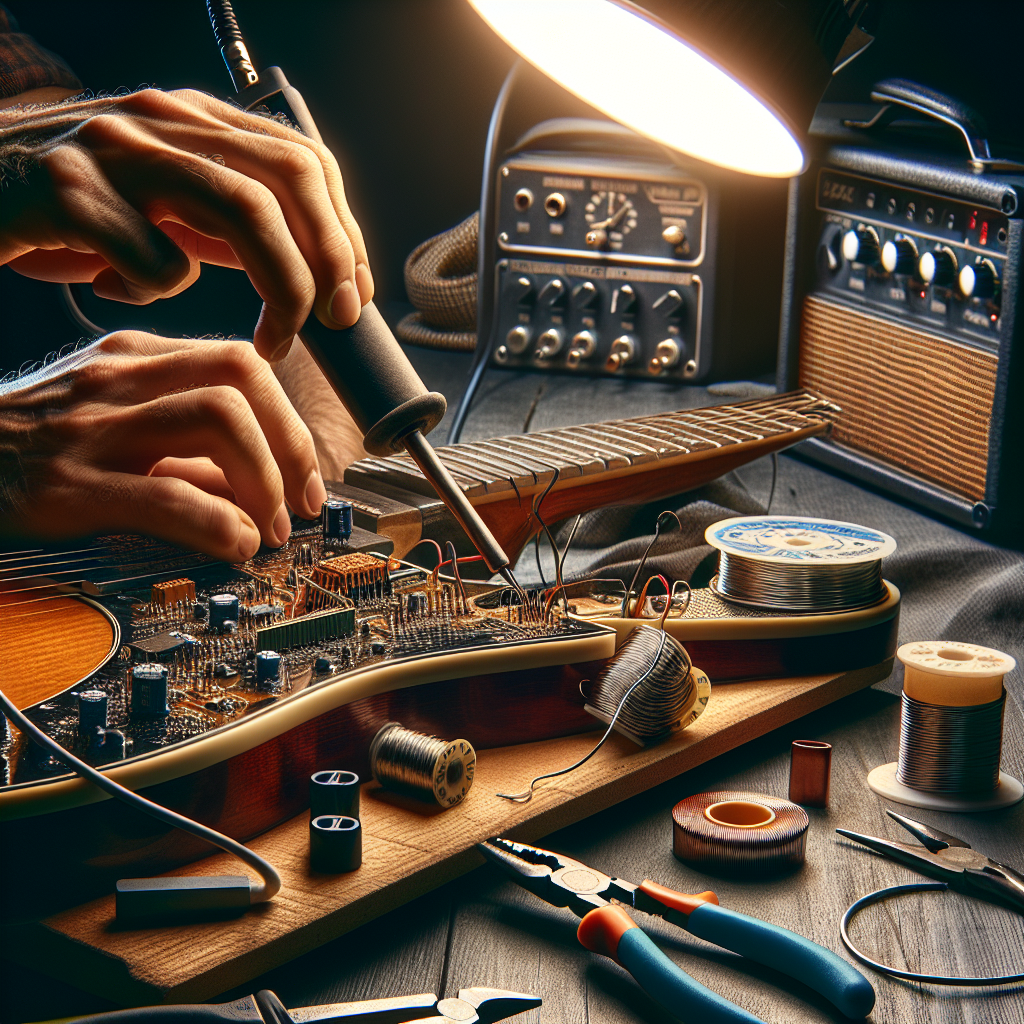
Learning how to solder guitar electronics can significantly enhance your ability to modify and maintain your instrument’s sound. Whether you’re looking to replace old pickups or fix a crackling output jack, mastering the art of soldering is essential for creating your perfect sound. In this comprehensive guide, we’ll walk you through a step-by-step process of soldering like a pro, complete with expert tips and tricks to make the job easier and more effective.
Understanding the Basics of Soldering
Soldering is a process used to join electronic components by melting solder around the connection. Before diving into your guitar’s electronics, it’s crucial to understand the basics:
- Soldering Iron: Invest in a quality soldering iron with adjustable temperature settings.
- Solder: Use rosin-core solder, ideal for electronic tasks due to its built-in flux that helps the solder flow and bond better.
- Soldering Stand: Ensures safety by securing the soldering iron and preventing burns or damage.
- Basics: Practice soldering on spare wires or old electronic boards to get comfortable with the technique.
Preparation is Key
Before you begin soldering, preparation is crucial. Here’s what you need to do:
Step-by-Step Soldering Process
With tools and workspace ready, it’s time to get your hands dirty. Follow these steps to solder guitar electronics like a pro:
Troubleshooting Common Issues
Even pros encounter issues. Here’s how to troubleshoot common soldering problems:
- Cold Joints: These occur when the solder doesn’t melt correctly. They can be recognized by a dull, grainy appearance. Reheat and apply additional solder if needed.
- Solder Bridges: Excess solder forms unintended connections or ‘bridges’ between components. Use a desoldering tool to remove the excess.
- Damaged Components: Prolonged heat can damage components. Brief contact between iron and connection is essential to avoid overheating.
FAQs About Soldering Guitar Electronics
Conclusion: Practice Makes Perfect
Soldering guitar electronics like a pro requires practice, patience, and the right tools. By mastering these skills, you gain more control over your guitar’s sound and save money on professional repairs. Start with simple projects to build your confidence, and don’t forget to show your guitar some love and care.
For additional tips, you might visit StewMac’s guide on guitar maintenance, which provides a wealth of knowledge on instrument care and modifications.