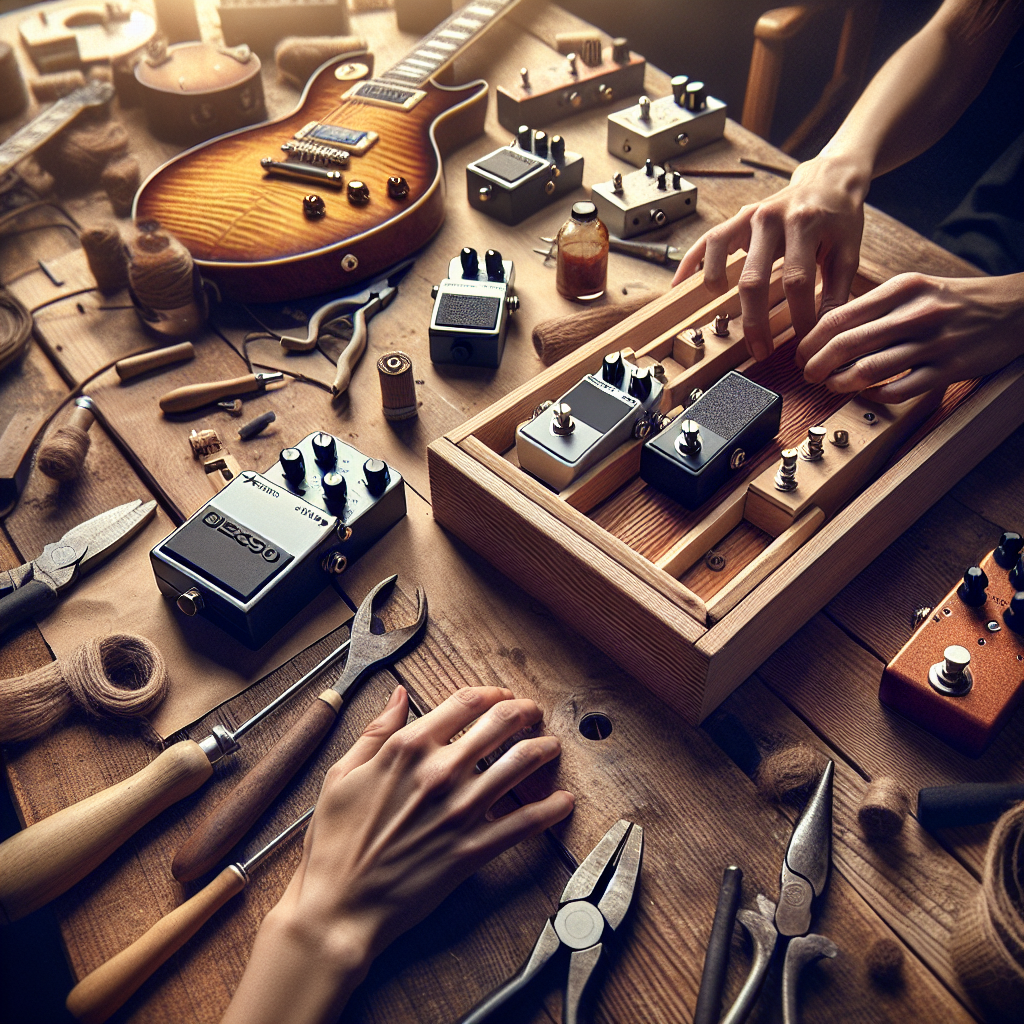
7 Steps to Building a DIY Pedalboard That Rocks
Are you a guitar enthusiast eager to create your own custom pedalboard? Building a DIY pedalboard is not only a practical and cost-effective way to manage your effects pedals, but it also allows you to tailor your setup to fit your unique sound and style. Whether you’re a seasoned performer or a budding guitarist, this guide will walk you through the essential steps to create a pedalboard perfect for your musical needs.
Selecting the Right Materials
The first step in building your DIY pedalboard is selecting the right materials. The materials you choose will impact the durability and weight of your pedalboard. Commonly used materials include wood for its classic appeal and affordability, and aluminum for a lightweight and sturdy option. You might also consider plexiglass if you want a clear surface to show off your pedals.
Ensure that the material you select can hold the weight of all your pedals and is easy to work with in terms of cutting and assembly. Remember, the goal is to create a board that’s functional, sturdy, and visually appealing.
Designing Your Layout
Once you’ve chosen your materials, it’s time to design your layout. Consider the sequence of your effects pedals; this involves determining the order in which they should be connected. The typical layout starts with tuners, followed by distortion or overdrive pedals, modulation effects like chorus or flanger, and finally delays and reverbs. However, feel free to experiment to find what works best for your sound.
Allow space for any future pedal acquisitions and consider leaving a gap for cables to snake through. By planning effectively, you ensure your pedalboard remains organized and neat.
Cutting and Assembling
With your design in hand, the next step is to cut your material to size. If you’re using wood, saw it to the dimensions you’ve planned. For metals, you might need more specialized tools like a metal cutter or jigsaw. Always wear safety gear such as goggles and gloves when cutting your materials.
Once your pieces are cut, assemble your pedalboard frame. Use screws or brackets to secure the edges if you’re using wood. For metal, ensure your joints are appropriately welded or fastened. Start by assembling the base and gradually work your way up to any raised platforms if your design includes tiers.
Attaching Pedals
To affix your pedals securely to the board, you’ll need Velcro or industrial-strength adhesive strips. Velcro allows greater flexibility, enabling you to easily swap pedals in and out of your setup. Cut the Velcro to size and attach it to the bottom of each pedal and the board’s surface. This prevents pedals from moving during performances and makes transport easier.
Power Solutions
A crucial yet sometimes overlooked aspect of building a pedalboard is ensuring adequate power supply. Consider investing in a dedicated power supply unit that can handle the voltage needs of all your pedals. A power brick can help reduce the risk of hum or electrical interference, resulting in a cleaner, more professional sound.
Route your power cables along designated paths to maintain a tidy appearance. Label cables if necessary to avoid confusion during setup and teardown.
Tidying Up Cables
Cable management is key to a clean and professional-looking pedalboard. Use zip ties or cable clips to secure cables and prevent tangling. Ensure that each pedal’s input and output leads connect cleanly and that cables run in an organized manner. By effectively managing your cables, you reduce the risk of accidental unplugging or signal loss during performances.
FAQs
The ideal size depends on the number and dimensions of your pedals. Factor in space for future additions, ensuring it’s manageable for transport.
Yes, if your board has extra space or you can shift existing pedals around. Consider modular designs for easy expansion.
For wood, a saw, drill, and screwdriver; for metals, potentially a cutter or welding tools. Basic measuring tools are also essential.
A dedicated power supply ensures consistent voltage, reducing noise and potential damage to your pedals.
Sequence pedals logically (tuners first, modulation later), route cables neatly, and use Velcro for easy reconfiguration.
Absolutely! Personalize with paint, decals, or additional features like lighting to reflect your style.
Conclusion
Building a DIY pedalboard is an empowering project that allows you to create a space uniquely suited to your musical expression. By investing in the right materials, designing a thoughtful layout, and implementing organized cable management, you ensure both aesthetic appeal and functional efficiency. So roll up your sleeves and get to building a pedalboard that will take your guitar setup to the next level. Share your final product with fellow musicians for inspiration and feedback. Happy building!
For more ideas on building custom gear, check out resources such as Premier Guitar for tutorials and reviews.