10 Essential Tips for Using a Multimeter in Guitar Electronics
Whether you’re a seasoned guitarist or a budding musician, understanding the intricate workings of your guitar’s electronics can significantly enhance your instrument’s performance. Enter the multimeter—a versatile tool that is invaluable for anyone interested in delving into the world of guitar electronics. This blog post will guide you on how to effectively use a multimeter to troubleshoot and optimize your guitar’s electronic components, ensuring your sound is always on point. Discover how mastering this tool can open new avenues in your musical journey.
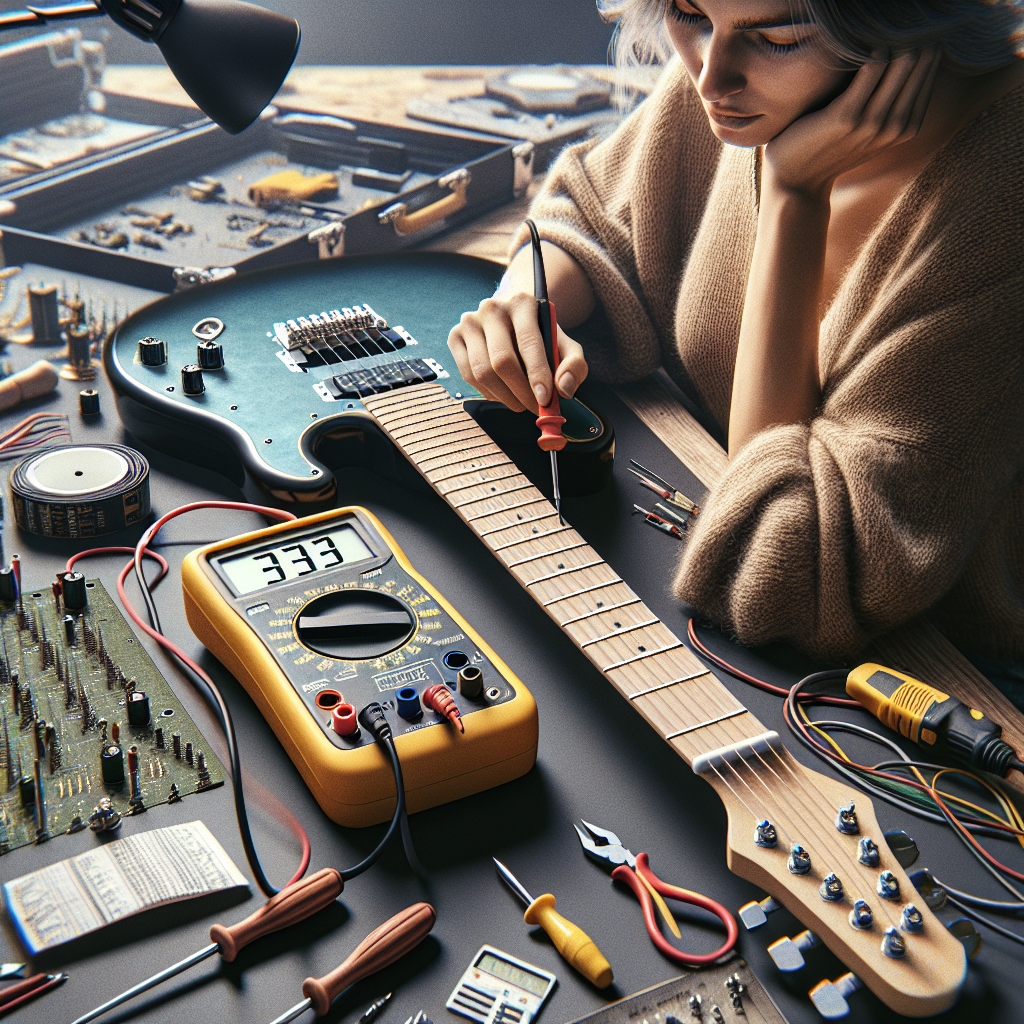
Understanding Your Multimeter
A multimeter is a handy device that measures voltage, current, and resistance. These functions are crucial in guitar electronics as they help in diagnosing and fixing electrical issues. The tool is also helpful in verifying the functionality of pickups, pots (potentiometers), and other electronic components of your guitar. Familiarize yourself with the dial settings and probes since these are fundamental for accurate readings.
1. Voltage Measurement
One of the primary uses of a multimeter in guitar electronics is measuring voltage. Ensure that your guitar is connected to a power source—like an amplifier—before beginning. Set your multimeter to the voltage setting, and place the probes on the corresponding terminals to measure the voltage output. This can help you identify issues in your guitar’s control circuitry.
2. Checking Continuity
Continuity testing is vital in identifying open circuits or faulty components. Set your multimeter to the continuity setting, place the probes on either end of a wire or component, and listen for a beep. A continuous beep indicates that the circuit is complete, while silence indicates a break or issue in the circuit.
3. Testing Resistance
Resistance measurement helps check the condition and value of components like pots and resistors in your guitar’s electronics. To measure resistance, set the multimeter to the resistance setting, and place the probes on both ends of the component. The reading should match the component’s rated value, ensuring it’s in good condition.
Using a Multimeter for Specific Guitar Electronics
4. Pickup Testing
Pickups convert string vibrations into electrical signals, crucial for your guitar’s sound. Use your multimeter to measure their resistance to ensure they’re functioning correctly. Disconnect any power source, set to the resistance setting, and place probes on the pickup terminals. Refer to your pickup’s specs for ideal resistance values.
5. Potentiometer Testing
Pots adjust volume and tone in your guitar. To test them, connect your multimeter probes to the pot’s outer lugs, with the meter set to measure resistance. Turn the pot knob, and the meter reading should smoothly transition from near-zero to the pot’s rated resistance value.
6. Switch Testing
Guitar switches control signal paths. With your multimeter set to continuity, test each switch terminal pairing. Engage and disengage the switch; the multimeter should beep when contact is made, confirming functionality.
Advanced Troubleshooting with a Multimeter
7. Capacitor Testing
Capacitors shape your tone and control frequency response. To test capacitors, especially if you suspect issues, use a multimeter with a capacitance setting. Note the readings, comparing them with the capacitor’s rated value for discrepancies.
8. Isolation of Faulty Components
Use your multimeter strategically to isolate and identify faulty components by systematically testing individual circuits in your guitar’s electronic assembly. This process helps pinpoint the exact cause of an electrical problem, making repairs easier.
FAQs About Using a Multimeter in Guitar Electronics
1. Can I damage my guitar by using a multimeter?
No, if used correctly, a multimeter is a safe tool that won’t harm your guitar. Always ensure your guitar is powered off when measuring resistance or continuity.
2. What does a fluctuating resistance reading on a pot indicate?
A fluctuating resistance reading may indicate a faulty pot that requires replacement, as it should smoothly transition between values.
3. Why isn’t my multimeter beeping during continuity testing?
If there’s no beep, the circuit may be open, or the component could be faulty. Double-check connections and ensure probes are correctly placed.
4. How can I tell if a pickup is not working properly?
Check the pickup’s resistance with the multimeter. A significant deviation from the specified resistance might indicate a problem.
5. Is it important to measure voltage in guitar electronics?
Yes, measuring voltage helps identify potential issues with power supply and signal flow in your guitar’s electronics.
6. What safety precautions should I take when using a multimeter?
Always start on the highest setting to avoid overload, and never measure live circuits unless the multimeter is rated for the task.
Conclusion: Mastering Your Multimeter
Using a multimeter becomes an invaluable skill once you delve deeper into guitar electronics. This tool allows you to optimize, troubleshoot, and customize your guitar’s electronic components for desired performance. Whether you’re maintaining your gear or upgrading components, the multimeter is your best friend. Embrace this skill to enhance your guitar’s potential and enjoy a richer sound experience.
For more in-depth information about multimeter usage and guitar electronics, you might find this guide on how to use a multimeter useful as well.