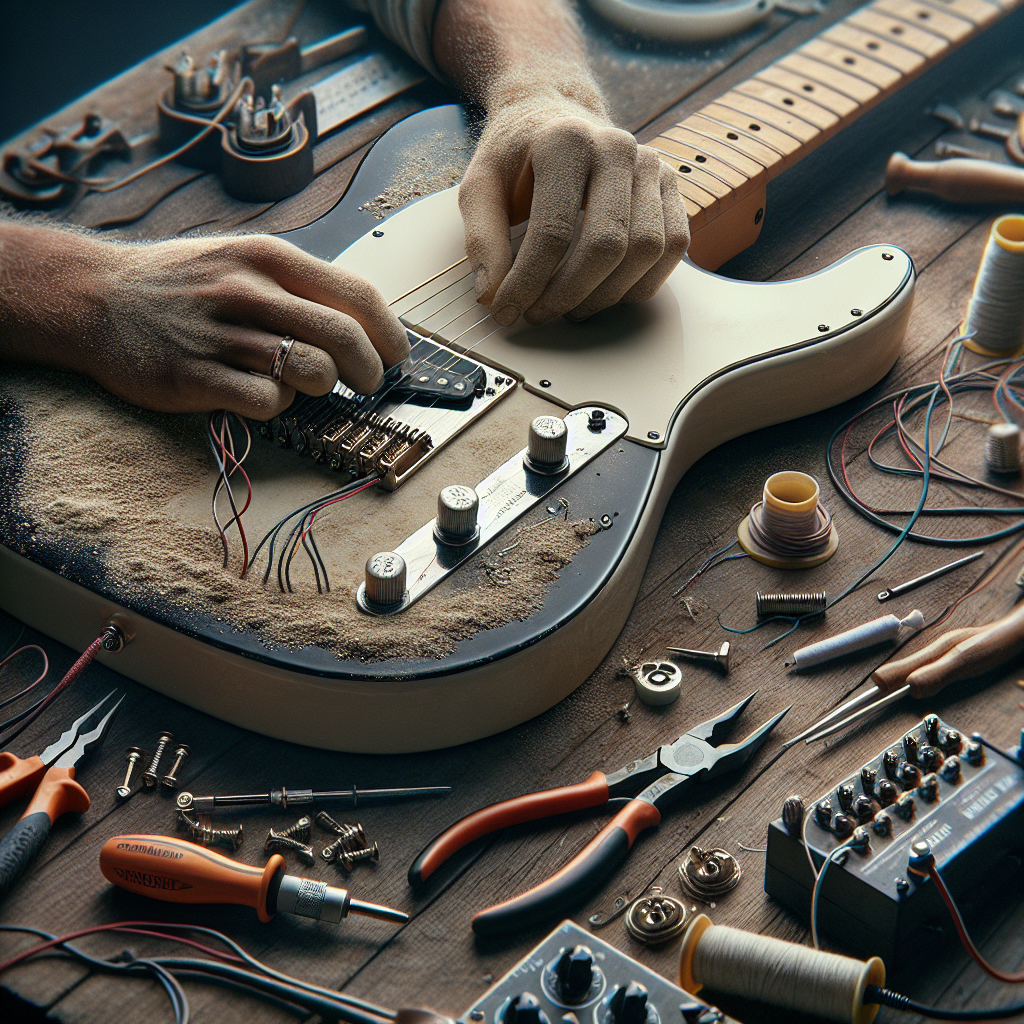
7 Essential Steps for Wiring a Telecaster Control Plate: A DIY Guide
Telecaster guitars are renowned for their classic design and versatile sound. One of the critical components that contribute to their distinctive tone is the control plate. Whether you’re customizing a new build or upgrading your vintage Tele, understanding how to wire the control plate is essential. In this guide, we’ll take you through seven essential steps to wire your Telecaster control plate efficiently. With a focus on simplicity and precision, you’ll be on your way to achieving that perfect Tele sound.
Step 1: Gather Your Tools and Materials
Before you start, ensure you have all the necessary tools and materials. Having the right gear will make the process smoother and help prevent any damage to your instrument.
- Soldering iron: Essential for making secure electrical connections.
- Solder: Choose lead-free solder for a safer experience.
- Wire cutters/strippers: Used to strip the insulation from the wires.
- Multimeter: Useful for testing connections and ensuring continuity.
- Control plate components: Includes potentiometers, a switch, capacitors, and a jack socket.
Step 2: Understand the Telecaster Wiring Diagram
The key to successfully wiring your Telecaster control plate is understanding the wiring diagram. This visual representation will guide you through the connections between the components. The most common wiring setup for a Telecaster includes two potentiometers (volume and tone), a three-way switch, and a capacitor.
Fender’s Official Guide provides detailed diagrams and step-by-step instructions that can serve as a great reference.
Step 3: Prepare the Control Plate
Begin by organizing the components on the control plate. Typically, the volume and tone pots are aligned side by side, with the switch placed in between. Make sure each component is firmly secured to the plate. This solid foundation will facilitate easier soldering.
Step 4: Solder the Components
Now, it’s time to solder the connections. Begin by connecting the volume pot’s center lug to the switch. Then, connect the tone capacitor to the tone pot’s middle lug, and solder the other end to the switch. Ensure each connection is solid and free of excess solder to avoid shorts. Take your time to position the wires neatly.
Use a multimeter to test each connection after soldering to ensure continuity and prevent potential issues.
Step 5: Connect the Output Jack
After wiring the pots and the switch, connect the output jack. Typically, you will solder one wire from the volume pot’s output to the jack’s tip connector, and another wire from the pot’s casing to the sleeve connector. This setup completes the circuit for the signal path.
Step 6: Test Your Wiring
Before reassembling your guitar, it’s important to test your wiring configuration. Plug the guitar into an amplifier and gently tap the pickup poles with a metallic object. You should hear a sound from the amp, indicating a working circuit. If any part of the control plate isn’t functioning correctly, recheck your connections.
Step 7: Reassemble Your Telecaster
Once you’ve confirmed that everything is working correctly, carefully reassemble your Telecaster. Ensure that all screws are tightened and the wiring isn’t pinched or obstructed in any way. Install the control plate securely, and tune your guitar to prepare for a test play.
FAQs
1. What tools do I need to wire a Telecaster control plate?
You will need a soldering iron, solder, wire cutters/strippers, a multimeter, and the components like potentiometers and a switch. These tools will help you assemble the control plate securely and precisely.
2. Can I customize my Telecaster’s wiring?
Absolutely, many players customize their Telecaster’s wiring to achieve their desired tone. Popular modifications include series/parallel switching or adding treble bleed circuits to modify the guitar’s response at different volumes.
3. What is the role of a capacitor in a Telecaster control plate?
The capacitor in a Telecaster wiring scheme helps to filter the high frequencies from the signal when adjusting the tone control, allowing you to achieve a warmer sound by rolling back the treble.
4. How does a three-way switch function in a Telecaster?
The three-way switch in a Telecaster selects which pickup(s) are active. Position 1 activates the bridge pickup, position 2 engages both pickups, and position 3 turns on the neck pickup alone, offering a range of tonal options.
5. How do I avoid cold solder joints?
To prevent cold solder joints, ensure your soldering iron is adequately heated before starting, and keep the solder in contact with the heated components long enough to achieve a glossy, secure connection.
6. What should I do if my Telecaster isn’t producing sound after wiring?
Double-check all your connections with a multimeter to ensure continuity. Also, look for potential shorts or incorrect soldering. If necessary, consult a professional or revisit the wiring diagram for guidance.
By following these steps, you can confidently wire a Telecaster control plate. This rewarding DIY project allows you to customize your guitar to your preferences and better understand its inner workings. Remember, practice makes perfect, so don’t be discouraged by initial challenges. With each attempt, you’ll improve and contribute to your unique sound.